
Project Settings
Basic Overview
The settings of projects can be accessed via the navigation bar settings (admin UI) and then selecting projects or directly from the project overview page.
Accessing the settings via the admin UI brings you to more advanced options for your project.
Via the project overview page, you can access the basic settings of your project. This is the focus of this page.
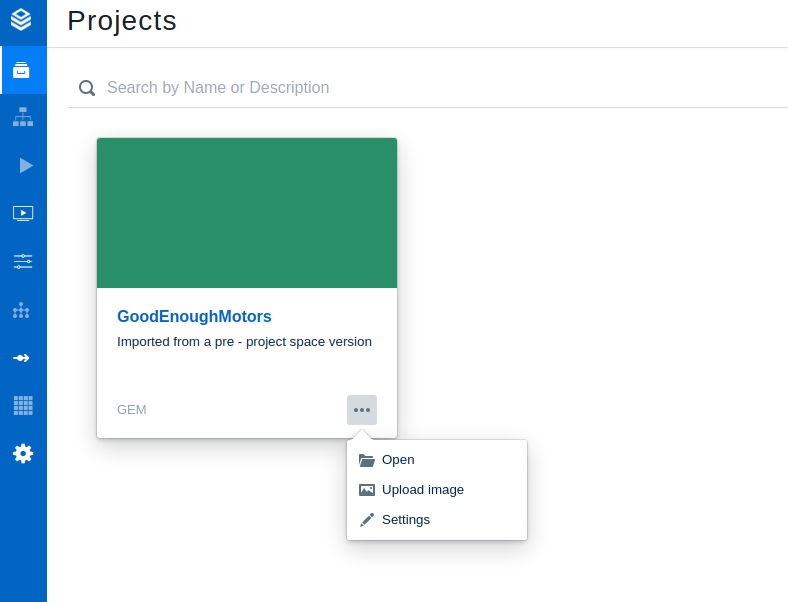
To get there click on the three-dot menu in the lower right corner of the project card.
In the first step of the settings, you can either open the project, upload an image for your project, or advance to the general settings of your project.
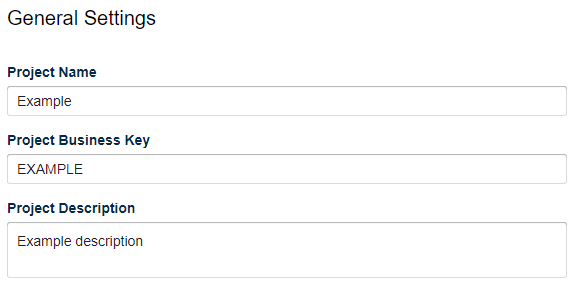
In the general settings of your project, you can adjust the project name, the business key, the project description and also change the time settings of your project.
Navigating to Project Settings
First, head over to the project list view.
Click the three-dots button to see the available actions on the selected project
Project Image Upload
By clicking "Upload Image", the image upload wizard will be prompted, through which you'll be able to upload an image from your computer and assign it to the project.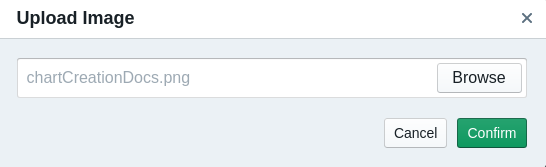
General Project Settings
In the general project settings, you can adjust the name, business key, and description of your project.
Business Key
A business key is used as a unique project identifier. As projects can have the same name, a business key is used to differentiate, find or assign projects no matter the name given.
There are a few restrictions on the style of the business key.
The notation may only contain upper case letters, numbers, and underscores as it can be used in programmatic access to the project.
When using lower case letters for your business key, those will automatically be transformed into upper case letters when pressing "Next".
Project Time Settings
The time settings of projects are divided into three categories: “Horizon Period”, “Horizon” and “Current Period”.
All three options can be changed in the project settings.

Horizon Period
The horizon period describes the granularity you want to analyze your data with.
That can be done in years, quarters, or months.
(Time) Horizon
The time horizon describes the amount of time you want to plan ahead for your project.
You can choose a starting and an end date for that.
This option can be set in years and months.
Current Period
The current period describes the point in time you want to start your project at.
Divide Years into
After configuring these settings, you can now decide which standards your calendar should follow.
The two options provided are the gregorian calendar and the ISO 8601.
The gregorian calendar is split up into years, quarters, months, and days.
ISO 8601 is split up into years, weeks, and days.
System managed Calendar Months
Calendar months are an optional dimension that you can enable in the project settings. This will generate a “CalendarMonth” dimension with the levels 01, 02, 03, 04, 05, 06, 07, 08, 09, 10, 11, 12. The CalendarMonth dimension can be used to analyze seasonality effects in your business (e.g. profits per month and year for a skiing region).
The difference between calendar months and the regular month Dimension is that calendar month does not contain the year, so you can compare the profits from a specific month over the years.
Upon ticking the checkbox and clicking the confirm button, a new dimension named ‘CalendarMonth’ will be automatically generated.
This dimension contains the calendar months and will be linked with the “Month” Level in the “Time” Dimension.

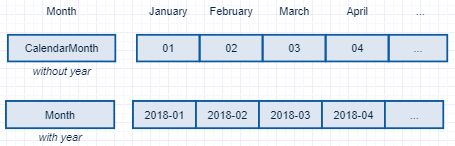
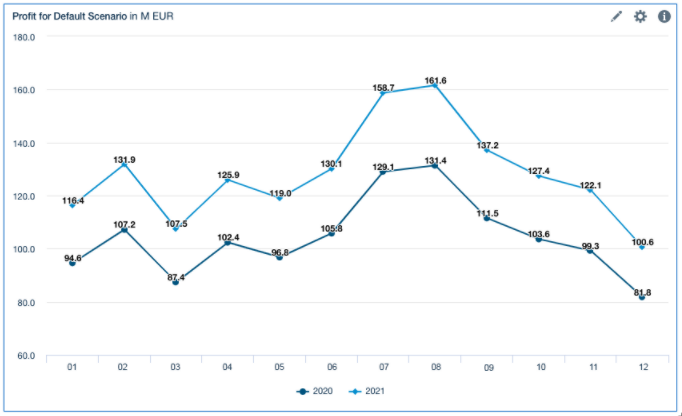
Chart Example using Calendar Months
Disabling Calendar Months
When disabling the setting "System managed Calendar Months", the system will no longer automatically manage the dimension for you. However, it will not automatically delete the calendar month dimension (as this might lead to data loss).
If required, the dimension can be deleted manually using the dimension management. In order to re-enable calendar months, you have to delete the calendar month dimension using the dimension management.
Limitations when using the week-based Time Dimension
Horizons on months cannot be combined with a week-based time dimension
Horizons on years might not match full ISO weeks
System managed calendar months are not supported in combination with weeks
Nodes on weeks with aggregation types CLOSINGSUM or CLOSINGAVG cannot include the SHIFT function in operations
Shifting on line items in workspace is only supported on months
The following functions to not support input with weeks: SCHEDULE_Projects, DEPRECIATION
Contact
You may contact the Valsight Customer Support via:
+49 30 46799042
Availability: Mon-Fri *, 9 AM to 5 PM (Berlin, Germany) .
*Except Public holidays in Berlin, Germany.